

Severe bleeding is an emergency where seconds count. Unsupplied can a life-threatening bleeding lead to death after just a few minutes.
Everyone — even laymen — should have basic knowledge of how to stop life-threatening bleeding so that they can effectively help in an emergency.
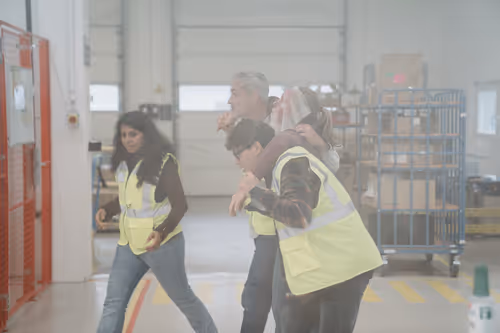
That is exactly why this is topic “Stop the Bleed” is one of the most important first aid topics worldwide. It affects not only professionals, but all people, as anyone can become a helper in emergency situations. Taking part in a first aid course can increase self-confidence and surety strengthen so that you remain able to act in an emergency. The Stop the Bleed course fills a gap in classic first aid by intensively training special techniques for massive bleeding. The courses are internationally recognized and are based on a teaching concept that was originally developed by the US military.
In this post, you'll learn:
- How do you recognize heavy bleeding
- Which sequence of measures actually works
- When a tourniquet is useful
- How Woundpacking (wound tamponade) works
- How to apply a pressure bandage correctly
- Which mistakes happen most frequently
👉 If you really want to master these techniques confidently, there is no way Stop the Bleed course Gone — because that is 100% practice.
Why heavy bleeding is so dangerous
When it comes to first aid, many people first think of:
- stable lateral position
- revival
- Patches and bandages
But in reality, the following applies:
Heavy bleeding is one of the most common preventable causes of death outside the hospital. Bleeding to death is the number 1 preventable cause of death.
Uncontrolled heavy bleeding following accidents poses a particular risk, as it can quickly become life-threatening for injured people.
The problem: When a large artery is injured, the body loses blood extremely quickly. Even a blood loss of around 1 liter of blood is an acute risk to the life of adults; significantly less is enough for children. Without rapid bleeding control, the risk of injured people increases massively, as severe blood loss can quickly lead to bleeding.
.avif)
What does “Stop the Bleed” mean?
“Stop the Bleed” is an internationally renowned training program that was created in the USA.
STOP THE BLEED® courses are internationally recognized and are based on a teaching concept originally developed by the US military in the field of tactical medicine. More than 1.5 million people worldwide have already been trained through these courses. The courses usually last 1 to 2 hours and are aimed specifically at laypeople, i.e. people without previous medical knowledge, in order to be able to act quickly and effectively in an emergency. After successful participation, participants receive a certificate. STOP THE BLEED® courses are a valuable addition to any first aid course, as they teach special techniques to stop bleeding and thus significantly increase the chances of survival in the event of serious injuries.
The goal is simple:
People should be able to stop life-threatening bleeding — before professional rescue workers arrive.
A Stop the Bleed training focuses on the most important techniques of bleeding control:
- Apply tourniquet
- Woundpacking/Wound tamponade
- Apply pressure bandage
- Rescue chain and handover
Detect life-threatening bleeding (in 10 seconds)
Typical signs
Bleeding is potentially life-threatening if:
- Blood splashes or pulsates
- Blood forms large quantities in a short period of time
- clothing is completely soaked
- the person concerned becomes pale or sweats
- Consciousness decreases
- severe pain or shock signs occur
Common causes
- Accidents at work (machines, tools)
- road accidents
- falls
- Hunting and outdoor accidents
- shooting range accidents
- Violence (stab/gunshot wounds)
.avif)
The right order: This is how you stop bleeding
Many fail not because of a lack of courage, but because of a lack of structure — a structured approach to emergencies is crucial to effectively stop bleeding.
Note
Save — Stop — Stabilize — Transfer
Step 1 — Overview of self-protection & location
Before you help:
- Pay attention to dangers (traffic, machinery, weapons, glass)
- Use gloves when available
- keep a distance from blood (infection protection)
Self-protection comes first.The safety of the person helping is always paramount. A second injured person doesn't help anyone.
Step 2 — Start emergency call and rescue chain
Make an emergency call early
In case of heavy bleeding, the following applies:
Emergency call immediately — not just after “attempts.”
What you should say
- Where is the emergency?
- What happened?
- How many injured people?
- What injuries? (heavy bleeding)
- Who reports?
Step 3 — Stop bleeding (the 3 core techniques)
Now comes the crux of the matter: The following methods are the most important techniques for stopping bleeding: You stop bleeding with one of the three methods.

Method 1 — Apply tourniquet (harden)
A tourniquet is a binding system that is used for life-threatening bleeding on the arms or legs. The targeted use of the hand, both when applying the tourniquet and when applying pressure to the bleeding, is particularly important in order to effectively help stop bleeding.
When is a tourniquet useful?
- severe bleeding on the arm or leg
- Bleeding cannot be controlled quickly
- several injured persons/stressful situation
- poor visibility/darkness
- Dangerous situation (e.g. road, shooting range)
Put on the tourniquet correctly — step by step
- Put on a “high and tight” tourniquet (high and tight)
- Tighten the band
- Turn the windscreen until bleeding stops
- Fix fuse
- Note the date
- Do not loosen or remove
Common tourniquet mistakes
- laid out too loosely
- too deep (too close to the wound)
- not twisted hard enough
- loosened again after 2 minutes
- incorrect use in case of non-life-threatening bleeding
Does a tourniquet hurt?
Yes
A correctly applied tourniquet is painful — but it saves lives.
.avif)
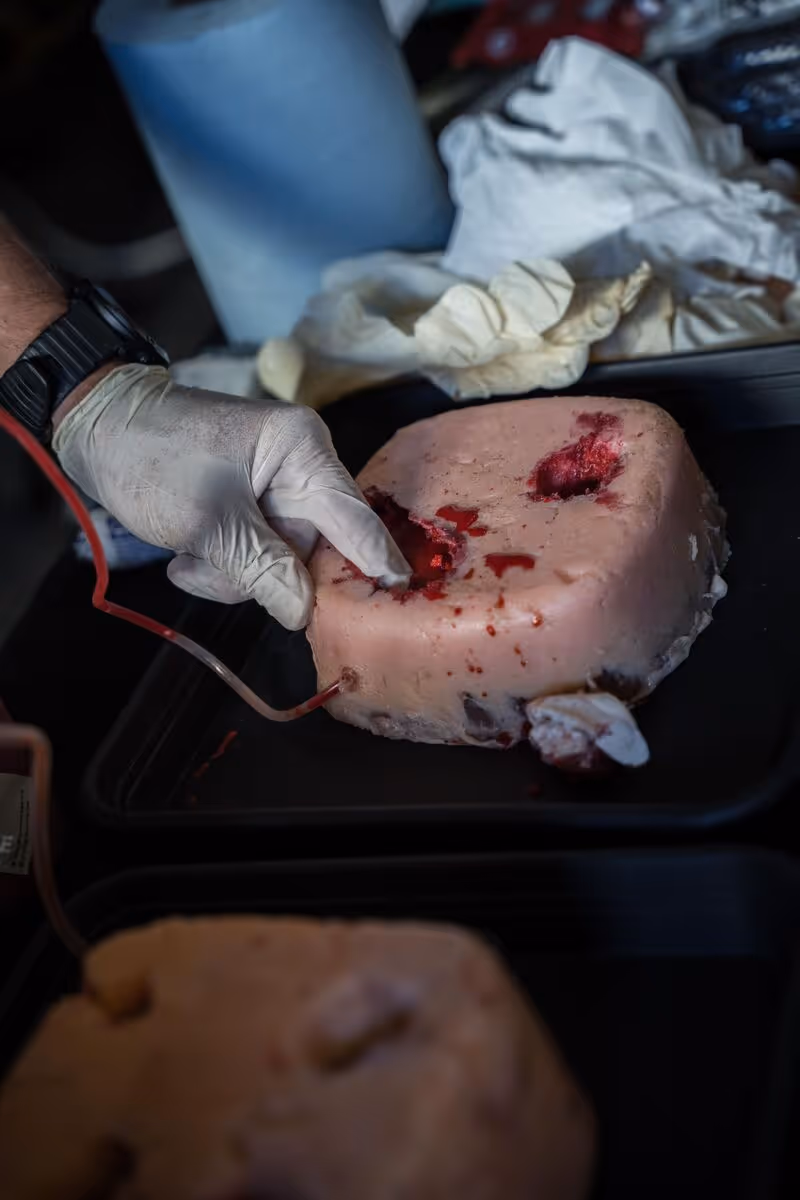
Method 2 — Woundpacking/wound tamponade
Woundpacking means firmly tamponing a deep wound (e.g. groin, armpit, neck) to compress blood vessels. Wound tamponade involves stuffing deep wounds with gauze bandages. In the Stop the Bleed course, wound care is practiced in practice, including applying wound dressings and using wipes correctly to cover and protect the wound. Participants practice tamponing wounds on training models to use the technique safely.
When is Woundpacking necessary?
- Bleeding in areas where tourniquet is not possible
- e.g. groin, armpit, base of the neck
- deep penetrating injuries
- severe bleeding from a “cavity”
Woundpacking step by step
- Expose wound
- Localize the source (where does the blood come from?)
- Press gauze deep into the wound
- “Fill” the wound completely
- Maintain constant pressure (at least 3 minutes)
- then pressure banding/fixation
Common Woundpacking Mistakes
- too little material
- not deep enough
- too little pressure
- Pressure not held long enough
- packed in the wrong place (not at the bleeding center)
.avif)
Method 3 — Apply pressure bandage
The pressure bandage is one of the most important first aid techniques, especially for moderate and severe bleeding. Severe bleeding is best stopped by applying sufficient external pressure on the wound.
In order to apply a pressure bandage optimally, the wound is first covered with a germ-free wound dressing, such as a cloth. If there is severe bleeding, it is best to press germ-free material directly onto the wound before the actual pressure bandage is applied. The wound dressing is then tightly wrapped with gauze bandages to create the necessary pressure and stop the bleeding. If one pressure bandage is not enough, a second pressure bandage can be applied over it if necessary to best control the bleeding.
When is a pressure bandage useful?
- Bleeding is visible and reachable
- Bleeding is not pulsating
- Bleeding is not massive
- as a supplement after Woundpacking
Pressure bandage step by step
- sterile compresse/apply bandages
- Build up firm pressure
- Fix tightly with a bandage
- Control: bleeding stopped?
- If necessary: second bandage on top (do not remove)
Common mistakes with pressure bandaging
- wrapped too loosely
- Bandage slips
- Removed too early
- Wound is constantly checked and opened
Which is better: tourniquet or pressure bandage?
That is one of the most common questions.
The answer is simple:
- Tourniquet = in case of life-threatening bleeding on extremities
- Pressure bandage = for controllable bleeding
- Woundpacking = in case of deep injuries without tourniquet option
What happens after bleeding control?
When the bleeding is stopped, it continues with:
Continued care for patients is crucial to prevent complications. In many cases, professional nursing or consultation with a doctor is necessary, especially if the injury is serious or the bleeding could not be fully controlled.
Certain illnesses or pre-existing conditions can affect aftercare and require special care attention. Be sure to continue monitoring patients and seek medical advice immediately if signs of worsening occur.
Prevent shock
- keep warm
- soothe
- store flat (if possible)
- Do not eat or drink
avoid hypothermia
Hypothermia massively worsens blood coagulation.
That is an underestimated risk.
Why you don't just have to “read” it, but train it
Many underestimate how difficult these techniques are in reality:
- gore
- stress
- time pressure
- gloves
- obscurity
- unusual equipment
In the Stop the Bleed courses Practical training and valuable tips are provided so that you can act safely and effectively in an emergency. Among other things, the courses cover various scenarios to optimally prepare you for different emergency situations.
A Stop the Bleed Training It is therefore not a theory — it is practice.
You'll learn:
- Put on the tourniquet correctly
- Practise woundpacking realistically
- Pressure bandage under stress
- Rescue chain & handover
- Prevent mistakes
FAQ — Frequently asked questions about Stop the Bleed
Is Stop the Bleed only for emergency personnel?
No
It is relevant for everyone — especially for people at work, outdoors, hunting, range, companies.
Do I need any special equipment?
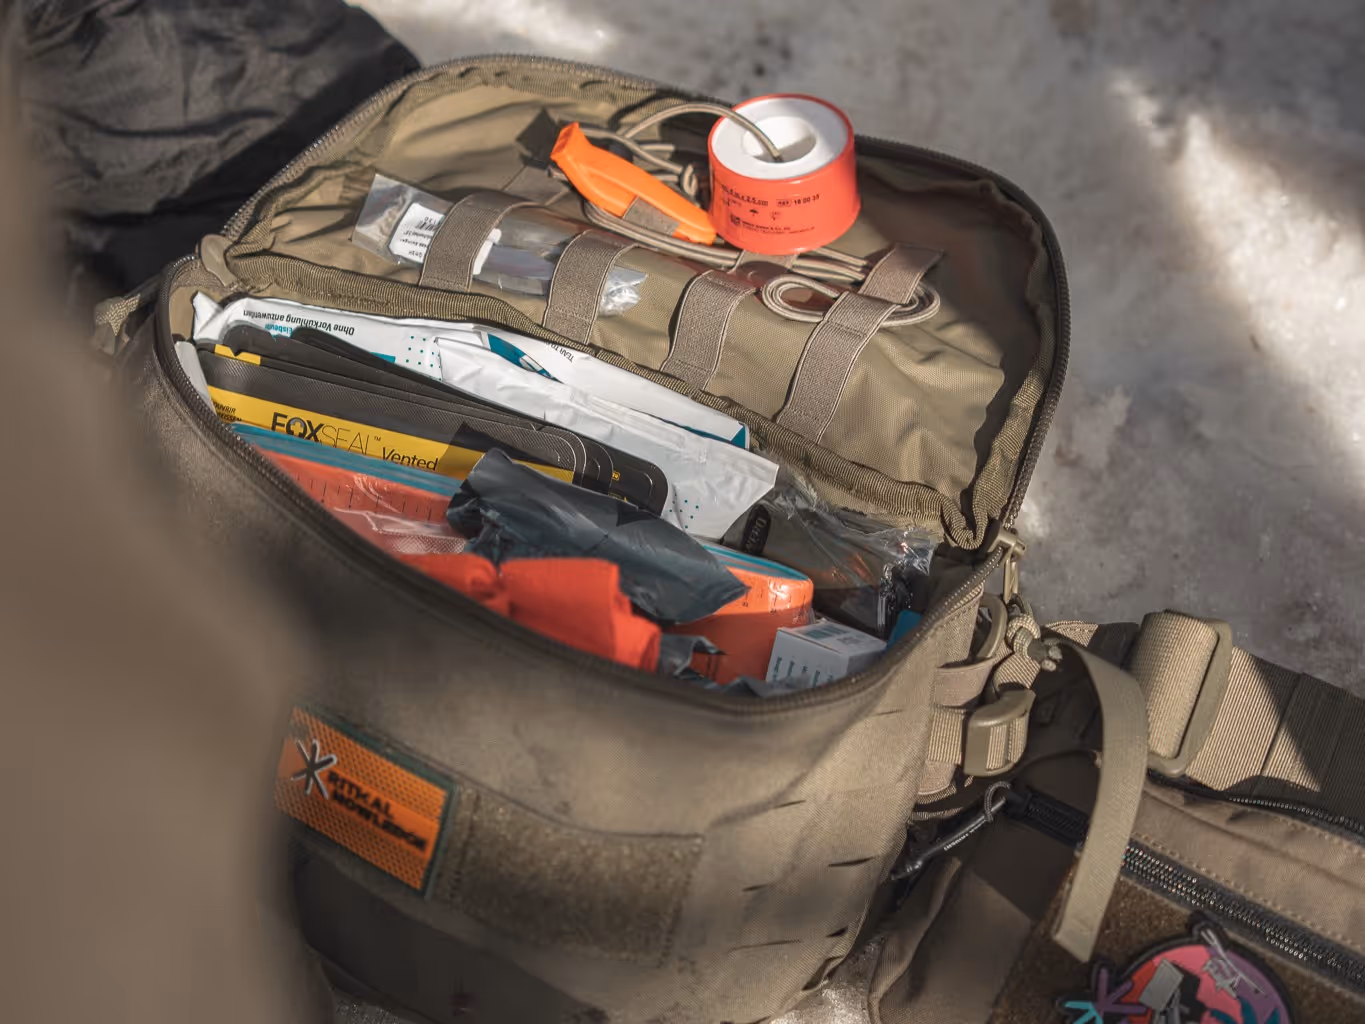
Not for training.
For real situations, a small IFAK is useful.
How long does a Stop the Bleed course last?
Typical: a few hours — highly practice-oriented.
Can I also book this as team training?
Yes — ideal for companies, security teams, clubs or shooting ranges.
Conclusion — Stopping bleeding saves lives
If you only take one thing away from this article, it's this:
Heavy bleeding is a time issue.
If you act quickly, you can save lives.
Tourniquet, wound packing and pressure bandage are the three most important tools of modern bleeding control.
.avif)
Book a Stop the Bleed course now
If you want to use tourniquet, not only understand wound packing and pressure bandaging, but really know how to:
👉 Watch Stop the Bleed course
👉 Book an appointment
👉 Request in-house training
Request a realistic simulation
Transform your emergency training with realistic wound simulations and scenarios to create an intensive and effective learning experience for your team.
Discover our trauma kits
Purchase premium trauma kits, including tourniquets, bandages, and other essential materials for emergencies in challenging environments.
Book your first aid course
Prepare your team for critical situations with hands-on training and real scenarios. Learn how to react quickly in emergencies.
.avif)
%20(1).avif)